
C.O.P. STORAGE SYSTEM
C.O.P. STORAGE SYSTEM
C.O.P. STORAGE SYSTEM
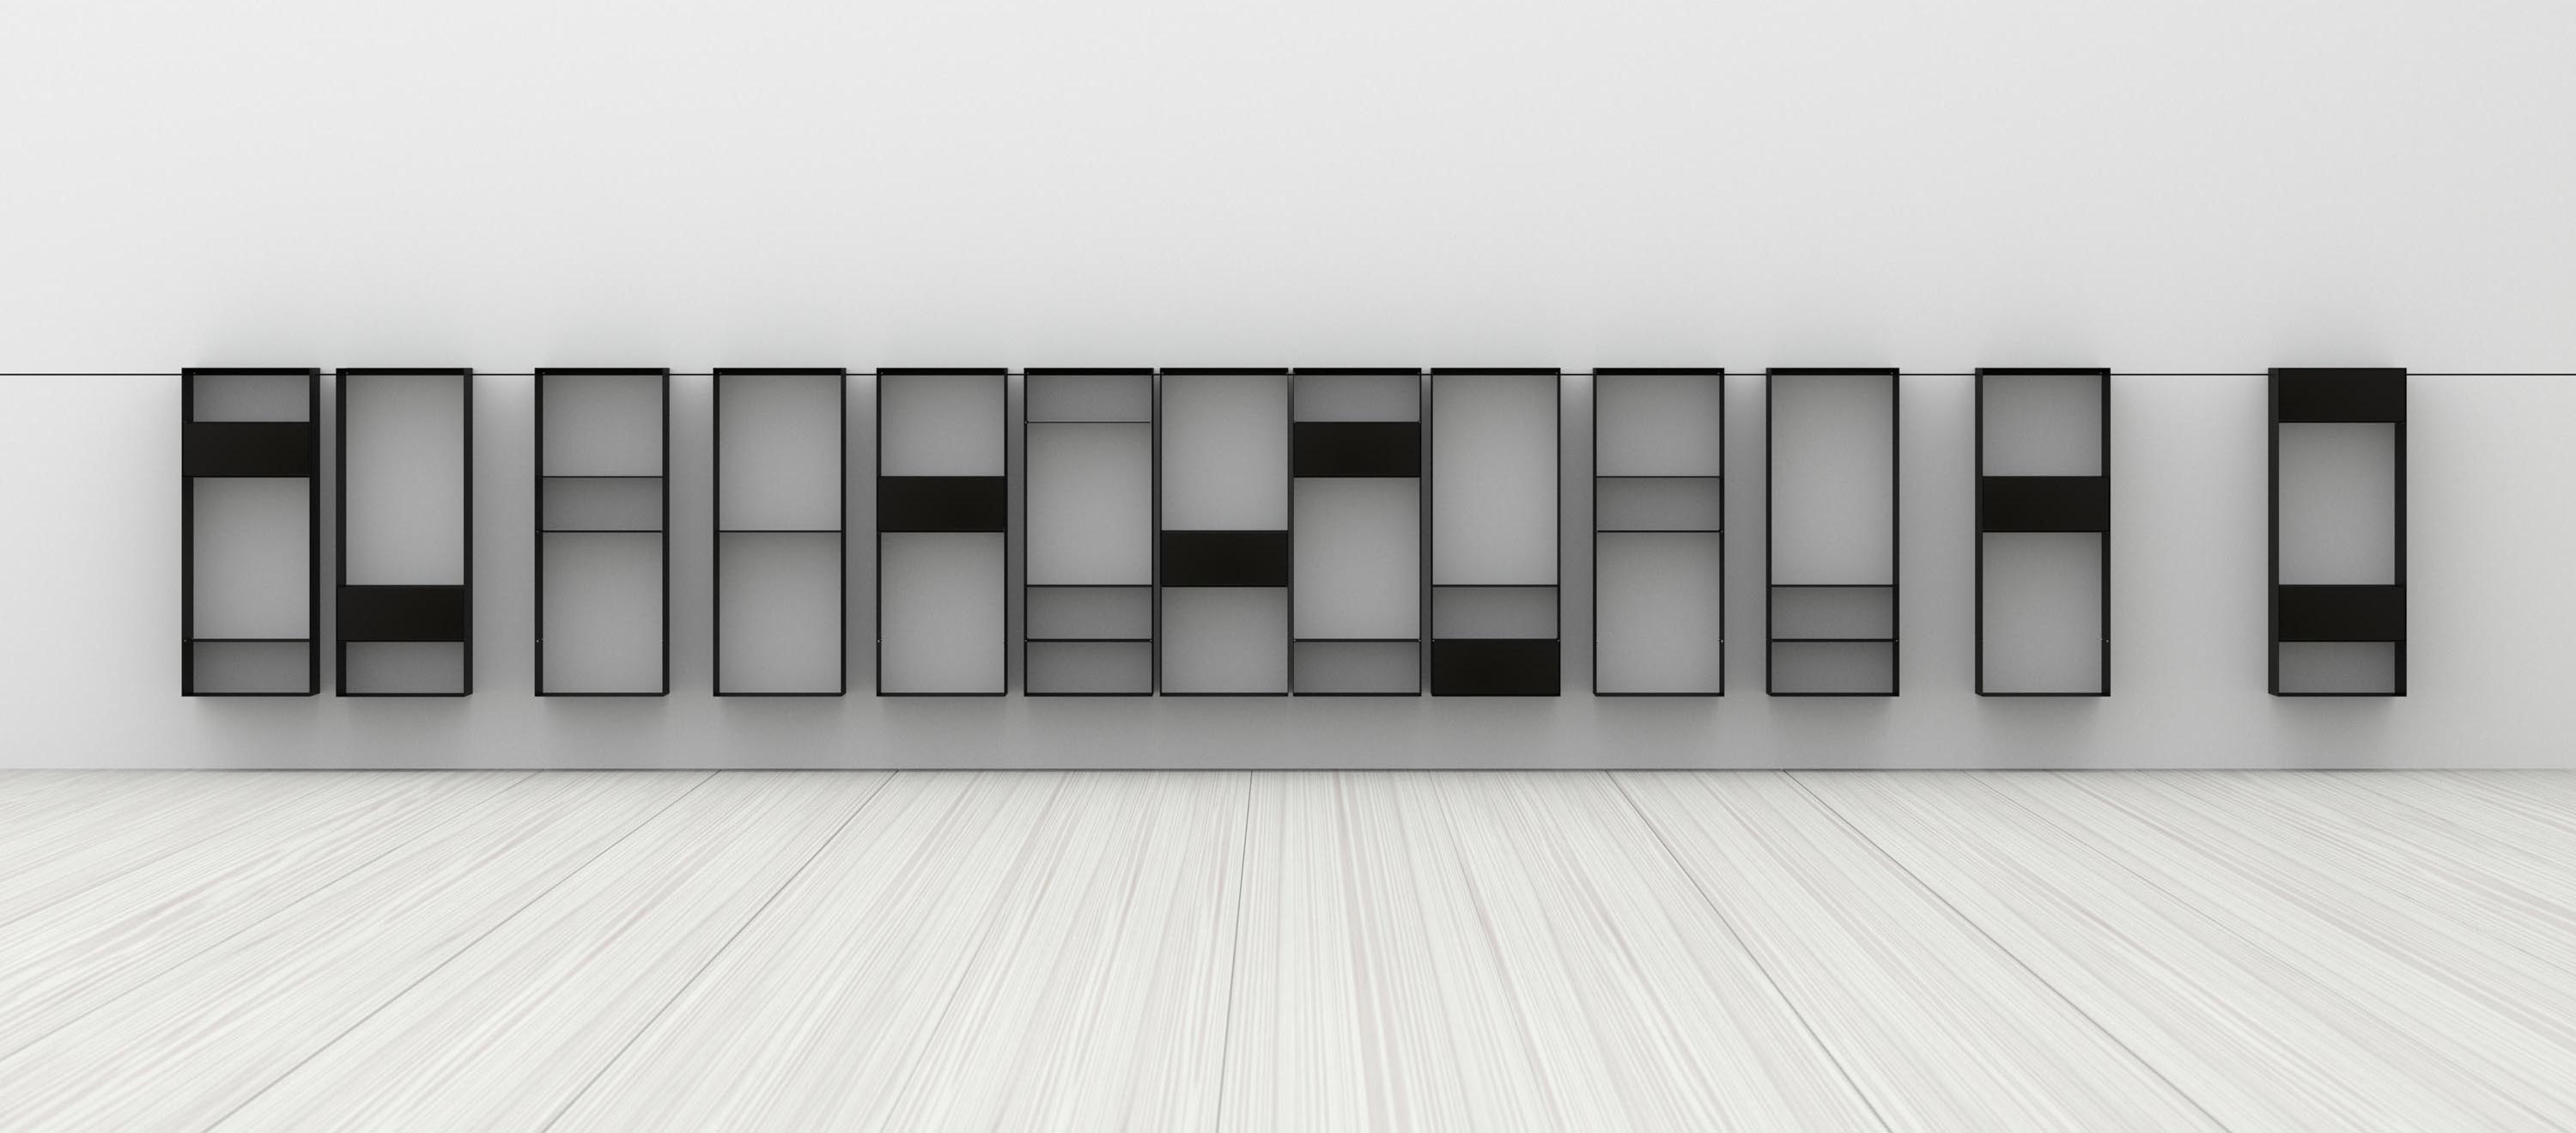
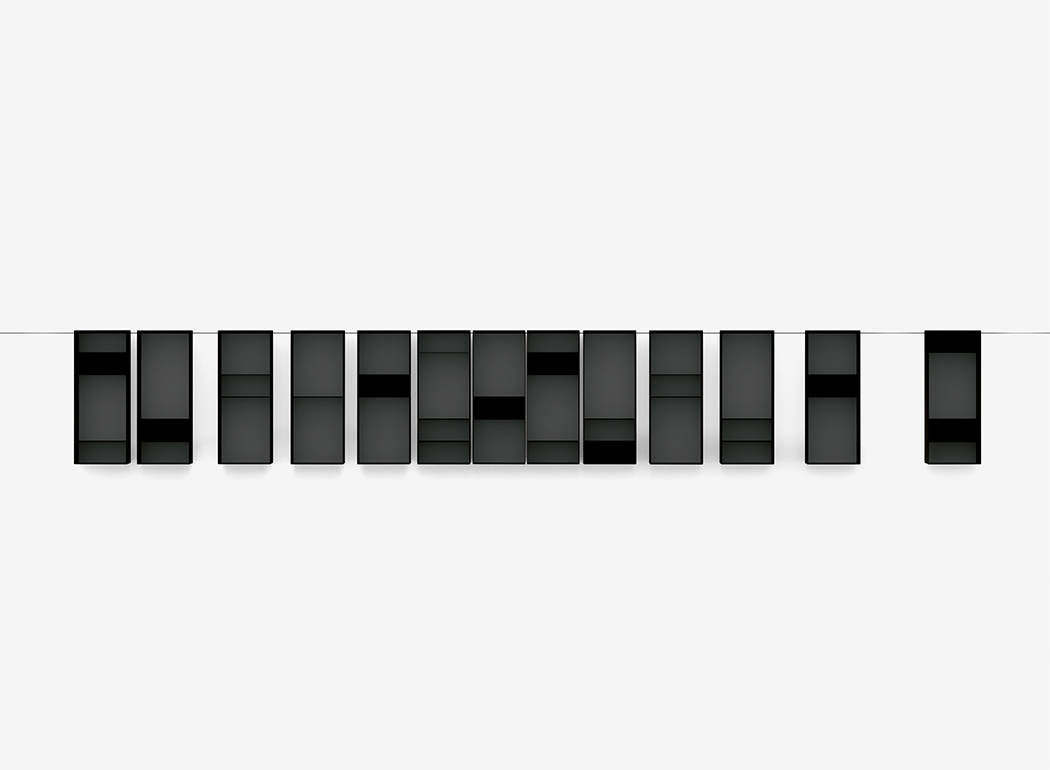
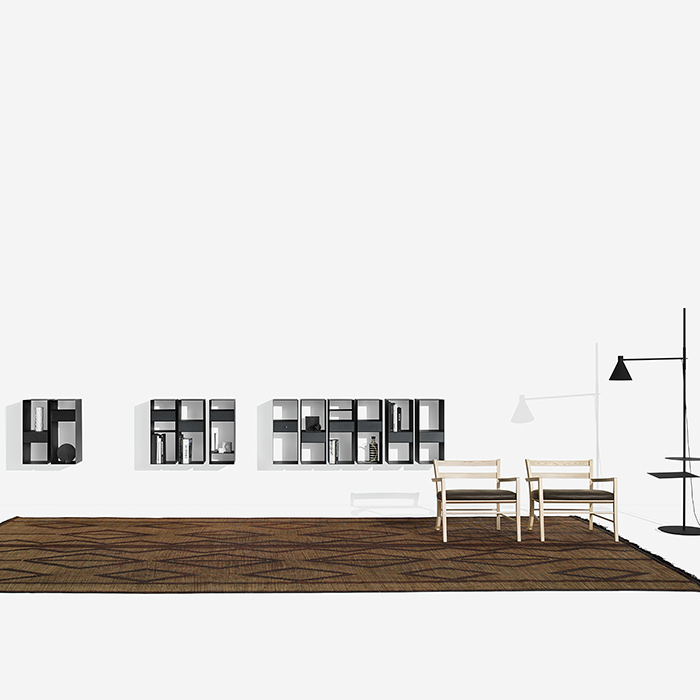
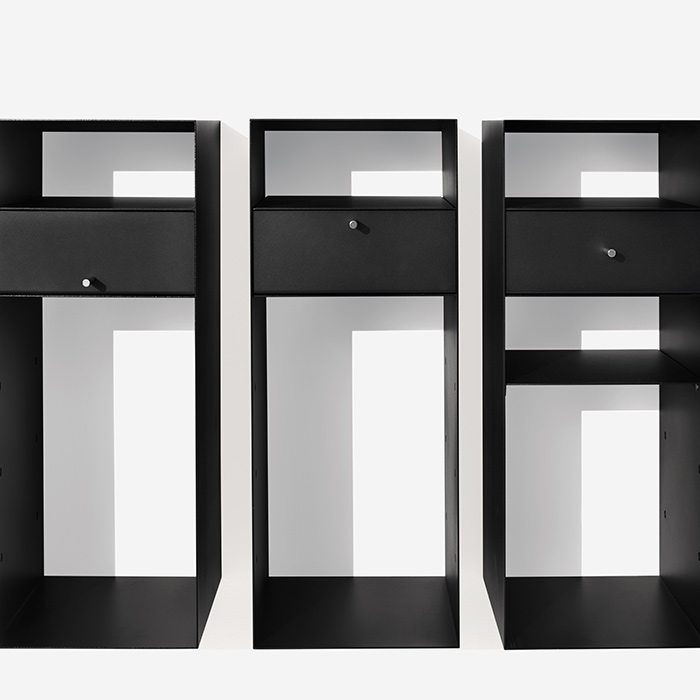
Three basic modules to draw a wall by alternating solids and voids. A highly customisable system of open cabinets that can be equipped with shelves and drawers, C.O.P. is designed to be efficient thanks to smart technical solutions, without sacrificing the pleasure of geometric decoration.
“with the ‘Creative Office Project’ MA/U Studio has set out to provide new standards for furnishing offices and creative workspaces. The C.O.P. system offers an unmatched flexible storage solution with its concealed rail mounting system”
INFORMATION
COMPONENTS
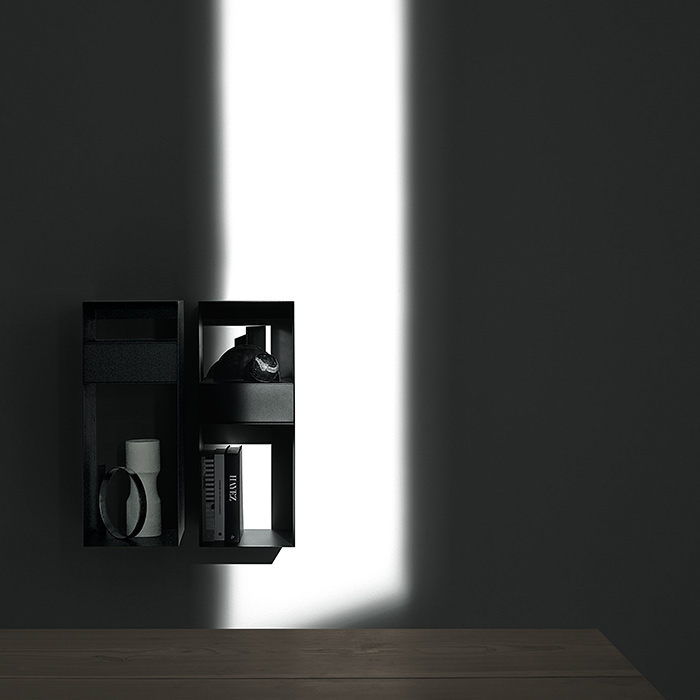
Matt black or matt white epoxy powder coated steel sheet. Magnetic fastening of additional shelves. Drawers are fitted with magnetic handle.
DIMENSIONS
26cm x 66,6cm x 32cm
FINISHES STRUCTURES
- Matt black steel
- Matt white steel


STORAGE UNIT TYPES
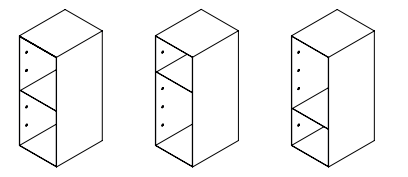
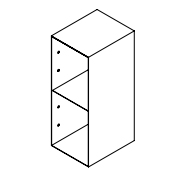
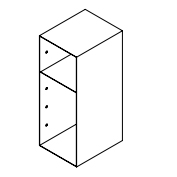
Storage Unit A: with central fixed shelf
Storage Unit B: with upper fixed shelf
Storage Unit C: with lower fixed shelf
DESIGNER

MIKAL HARRSEN
Throughout his career Mikal Harrsen has focused on creating original design solutions for clients and brands with ambitious projects and product portfolios.
In 2012 he established MA/U Studio together with Adam Hall. MA/U Studio is a brand with focus on design that offer functional, timeless and minimalist furniture design of high quality.
“As a designer I live through visual impressions. A design object is to me like a picture to be developed – the creative vision is captured mostly through the senses. I regard the design process as the individual filter which I use when defining a physical form or object for this vision”
– Mikal Harrsen.
With more than two decades of experience as an independent designer Mikal Harrsen has gained solid know-how, and is recipient of several international design awards;
- Red Dot AwardIF Design Award
- Communication Arts Award
- ADEX Platinum (American Design Award of excellence)
- Design Prize of e Federal Republic of Germany (nominee)
ASSEMBLY INSTRUCTIONS
COMPONENTS AND HARDWARE SUPPLIED:
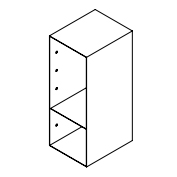
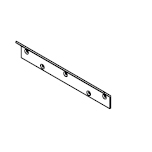
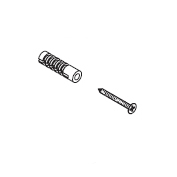
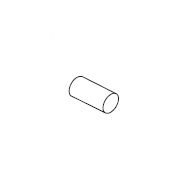
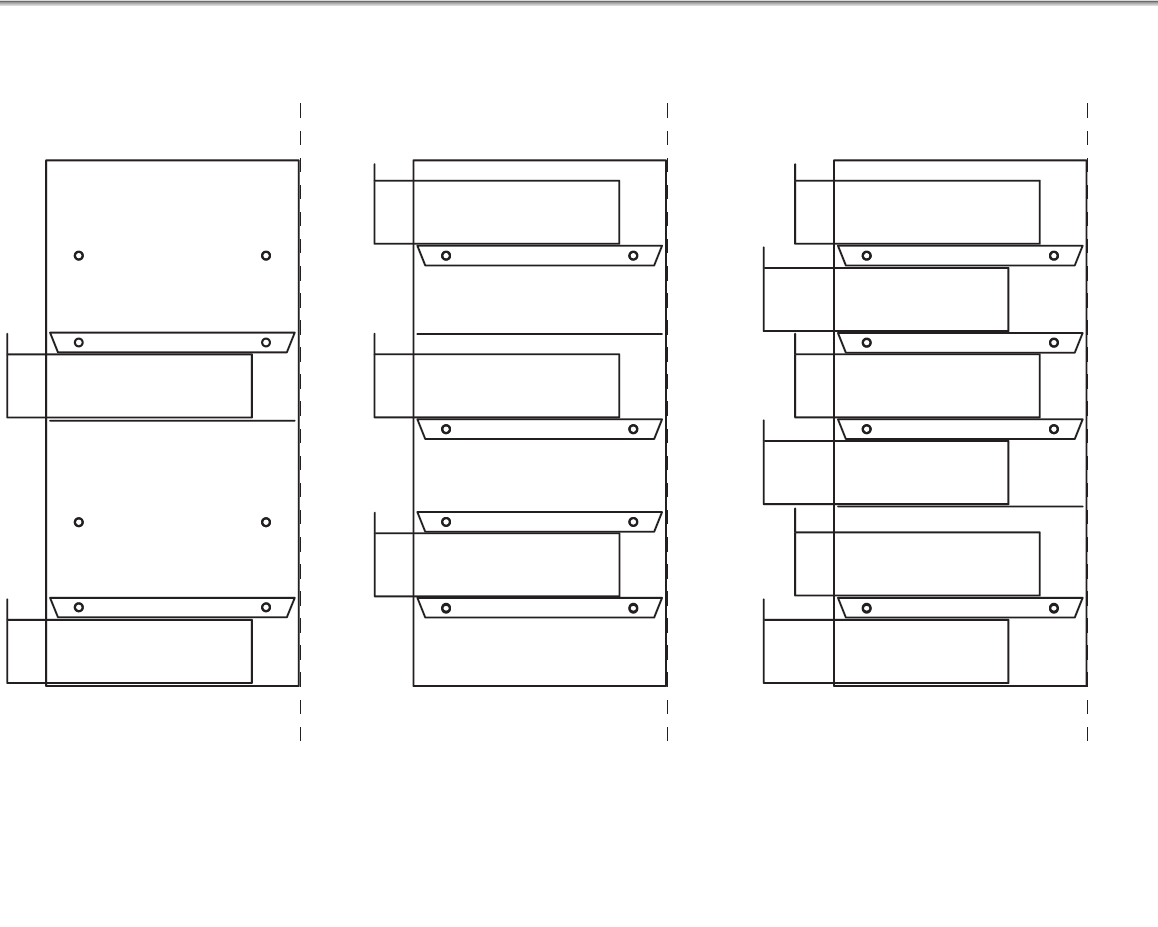
EXAMPLES OF SHELVES AND DRAWERS POSITIONING
MOUNT THE WALL BRACKET:
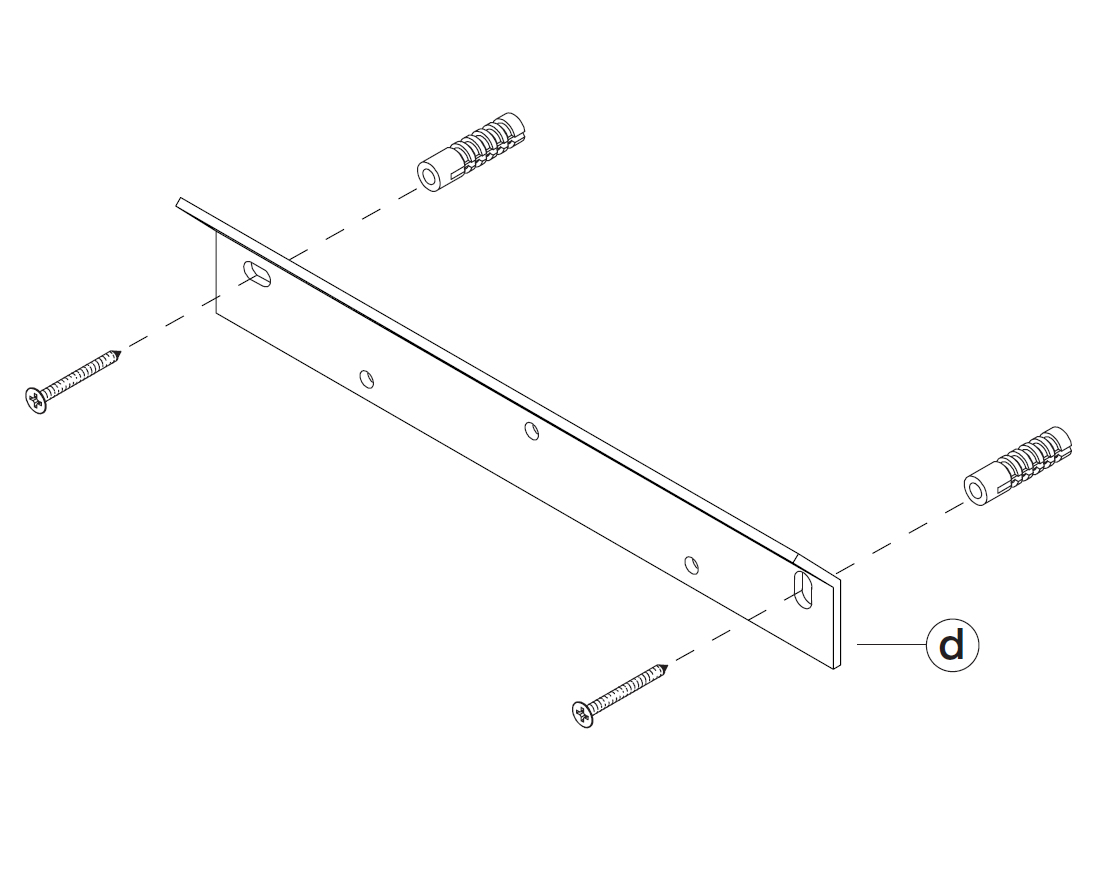
Fasten the wall bracket (d) to the anchors with the screws proper for the wall.
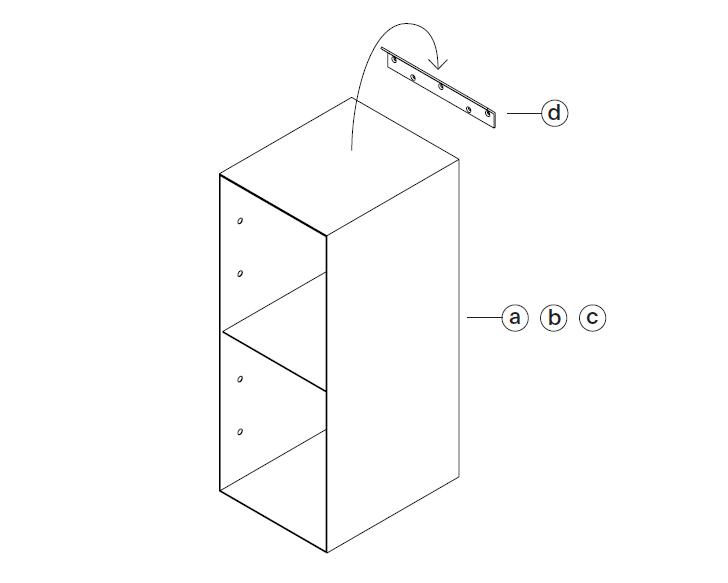
ATTACH THE UNIT ON THE WALL BRACKET:
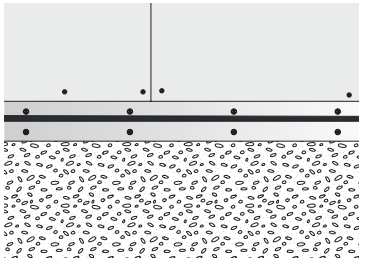
MOUNT THE CONCEALED RAIL SYSTEM:
1. Mount the concealed rail system (g) onto the first layer of plasterboard or plywood with montage glue and screws.
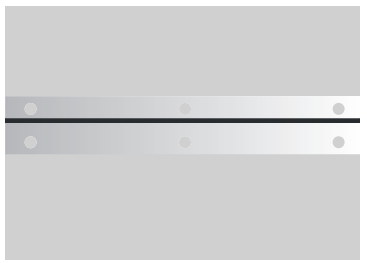
APPLY THE SECOND LAYER OF PLASTERBOARD:
2. The second layer of plasterboard applied in level with the rail.
EVEN OUT THE SURFACE:
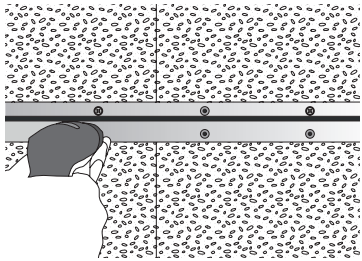
3. Use filler and sandpaper to even out the surface.
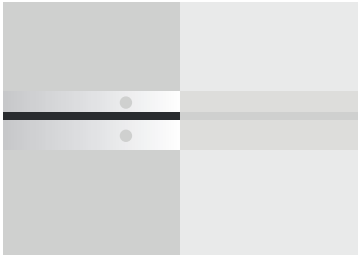
FINISH THE WALL:
4. Paint directly or finish the wall with wallpaper or fibre glass felt and paint.
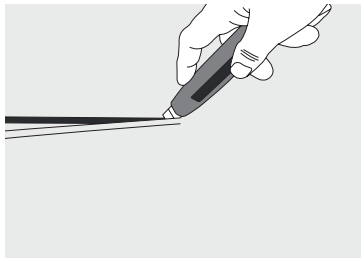
REVEAL THE NOTCH:
5. Cut open to reveal the notch in the rail.
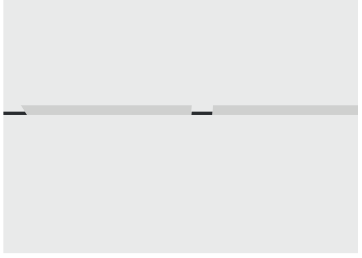
USE THE MOUNTING BRACKET TO ATTACH THE SYSTEM:
6. Hang the C.O.P. Storage Unit using the mounting bracket (d).
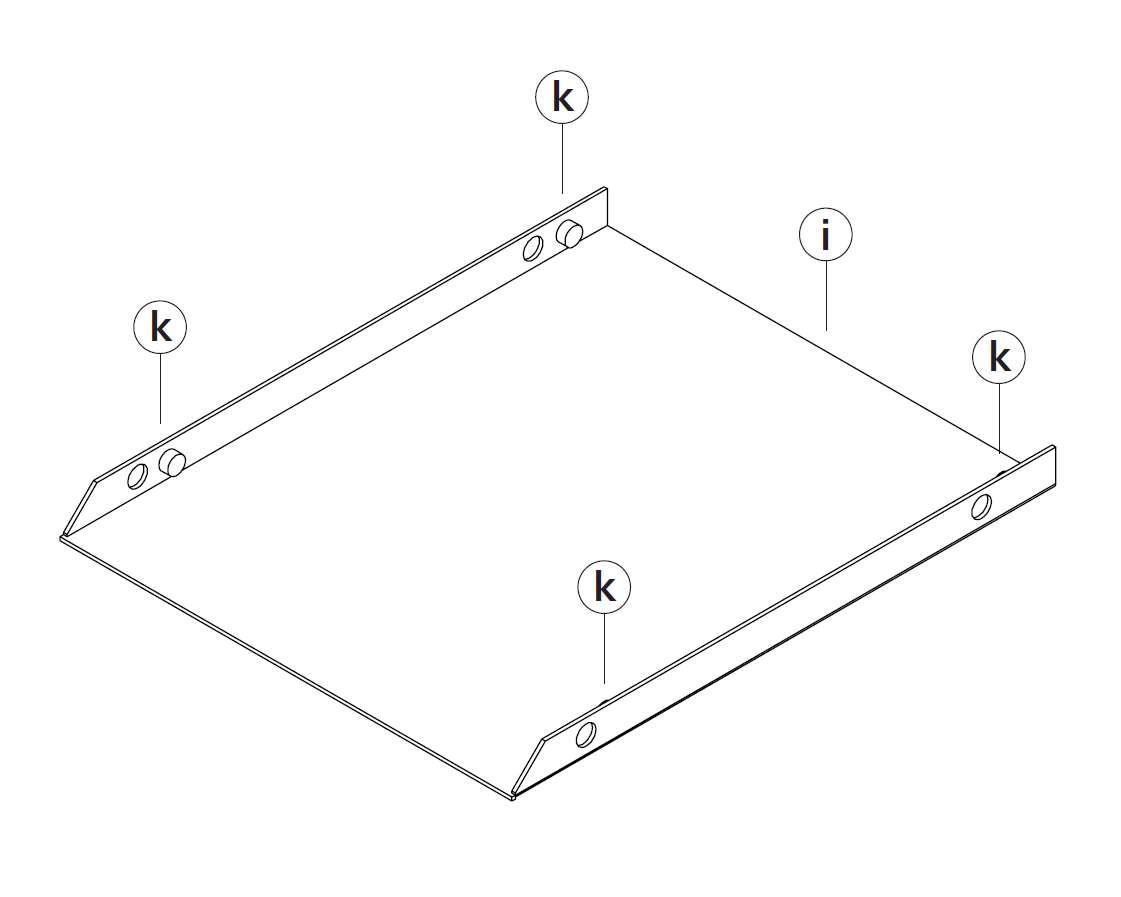
INSTALL THE ADDITIONAL SHELF:
Place the small magnets (k) next to the holes on the shelf (i).
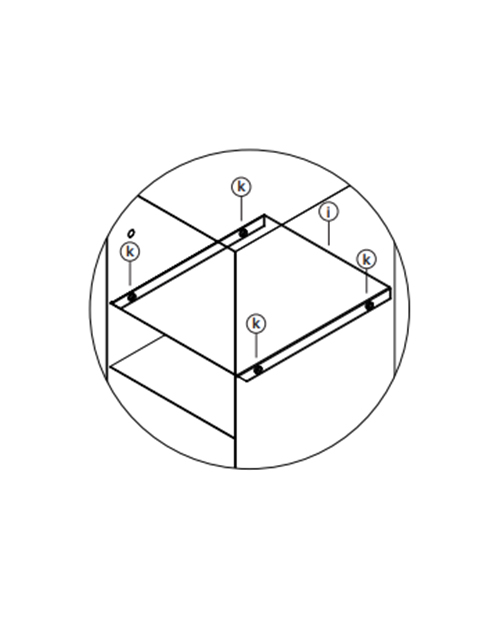
INSTALL THE SHELF IN THE UNIT:
Place the holes of the shelf (i) in correspondence with the recessed holes of the unit (a, b or c) and slide the magnets (k) through the holes.
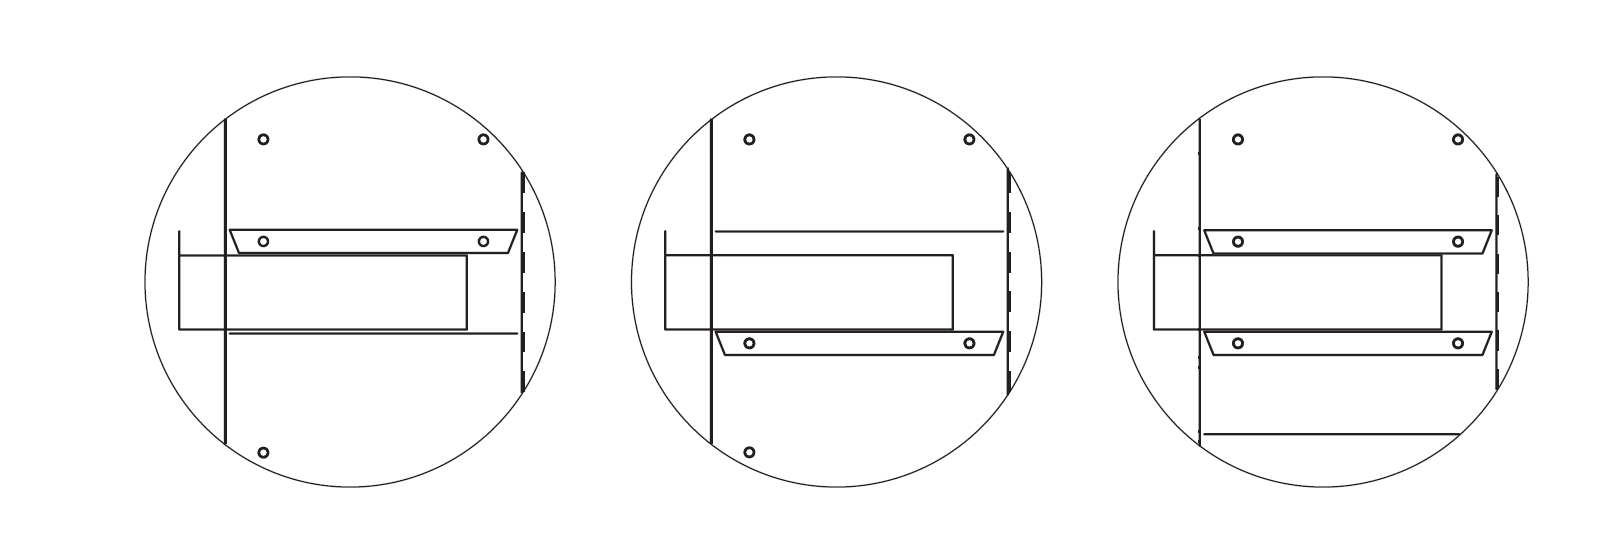
INSTALL THE DRAWER:
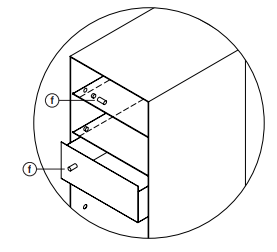
1. The drawer needs two shelves, one on the top and one on the bottom. Fixed shelf of the unit and / or additional shelves (i) can be used.
USE THE MAGNETS:
Use the long magnet (f) as tool for moving the shelves and as handle for the drawer.